
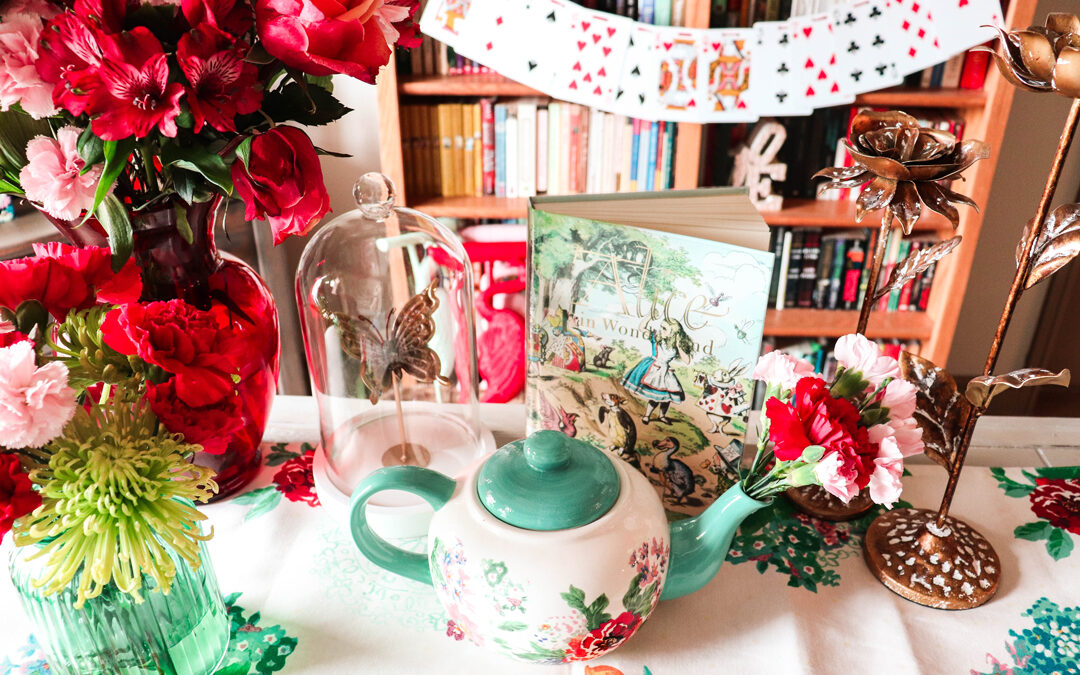
Recently I hosted an Alice in Wonderland UnBirthday Party for my husband and a couple of our friends. We ate tons of food, exchanged presents, and even enjoyed some flamingo croquet! But what made the event so magical was the party decorations. Here are some of the crafts I did at home to bring this party to life.
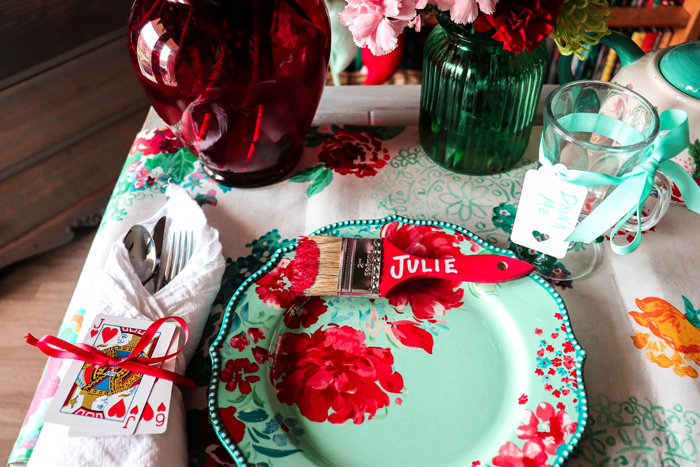
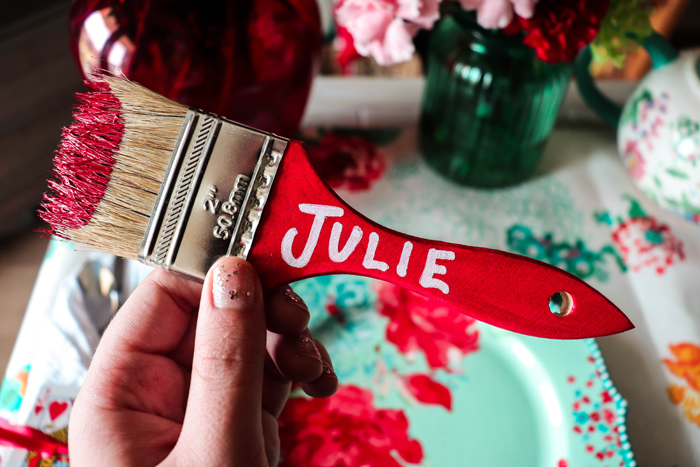 Painting the Roses Red Place Cards
I wanted this party to feel extra personalized since I was throwing it for a friend who lives 6 hours away and who I don’t get to see very often. So I made sure we each had cute place cards waiting for us at our seats before we started eating! These also coordinated nicely with my Painting the Roses Red Cupcakes. I let each guest take home their personalized paint brush after the party as a souvenir to remember the magic.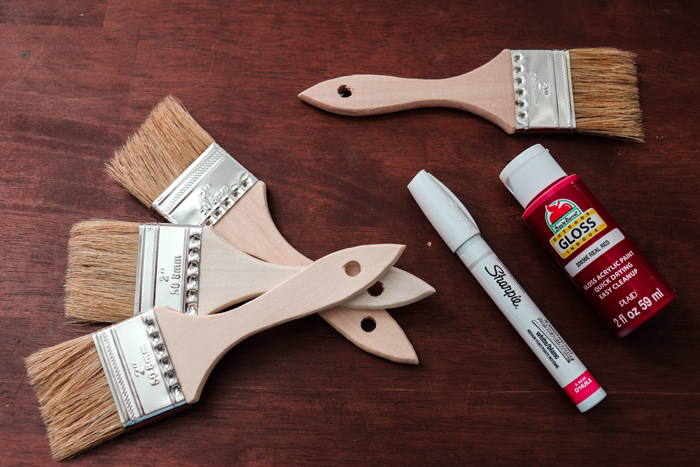
My supplies included wooden paintbrushes sold for less than $2 in the paint section at Home Depot, red acrylic paint, and a white paint pen. I also used a paper plate for painting and drying them and a smaller detail paintbrush to do the handles.
Step 1 – Start by painting the bristles of the brush. Pour some red paint into a small puddle on a paper plate. Dip the tip of your brush in so the bristles are glistening red. It definitely doesn’t have to look even or perfect.
Step 2 – Once you have painted your bristles, paint the wooden handle red. Repeat steps one and two until all of your paint brush bristles are finished.
Step 3 – Prop up the dipped paintbrush on a different paper plate to dry with the bristles hanging off the plate and the handle down on the plate. If the wet paint on the bristles is left touching the paper plate, it will get stuck and ruin your cute paint brush. (Trust me, I learned the hard way!) Leave your paint brushes to dry overnight.
Step 4 – When your paint brushes are dry, write your guests’ names one each one with your paint pen.
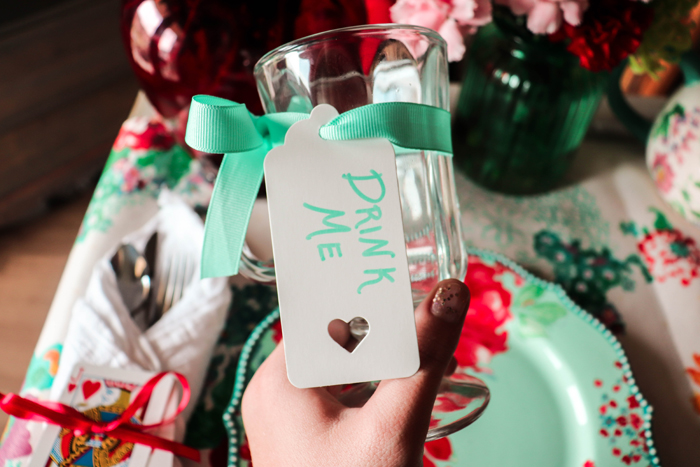
Drink Me Goblets
When I started exploring Pinterest for Alice in Wonderland party decorations ideas, I immediately came across dozens of “Eat Me” cookies and “Drink Me” stickers for glass bottles. I wanted to put my own spin on that idea, so I created these Drink Me Goblets decked out with plenty of whimsy for a mad tea party.
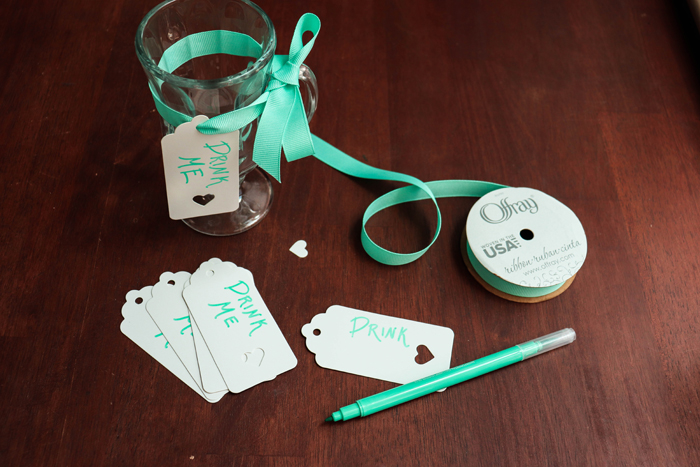
My supplies included these cute gift tags from Amazon, pretty glasses from our local Dollar Tree, some ribbon I had in my craft drawer and a colorful brush tipped marker pen. I was lucky to have spare ribbon in the perfect color, but if you don’t hoard craft supplies like I do you can always find inexpensive ribbon in on clearance for $1-$1.50 at Michael’s and Hobby Lobby.
Step 1 – Write “Drink Me” on your gift tag with your colorful pen of choice.
Step 2 – Wrap your first ribbon around the rim of your glass before cutting it to make sure it’s the perfect length. Then cut the rest to the same length, using your first ribbon as a guide.
Step 3 – Loop your gift tag through the ribbon and tie it in a tight bow around the rim of your glass. It helps to use glasses with handles so that the ribbon doesn’t slide off.
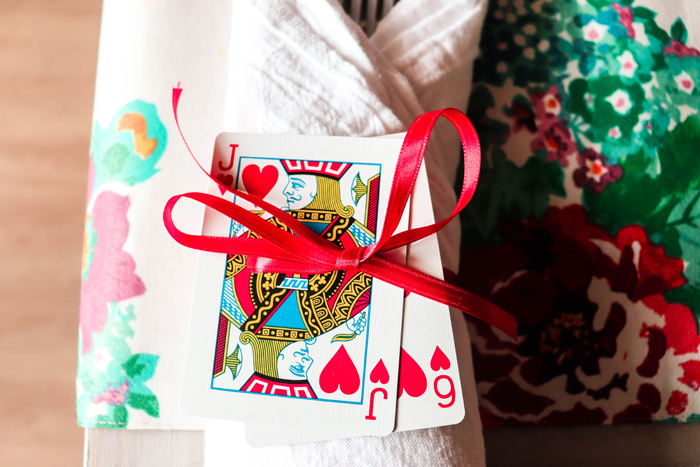
Playing Card Napkin Rings (and Banner)
I used playing cards as a motif throughout the party, with the most notable touches being my napkin rings and decorative banner. Both were bright and punchy, and also super easy to make.

My supplies included a deck of regular playing cards, a deck of jumbo playing cards, a hole-puncher, a hot glue gun, and some ribbon. I already owned everything except the jumbo playing cards, but if you don’t have a hole-puncher or hot glue gun you can find these tools inexpensively at Walmart.
Napkin Rings
Step 1 – Pick two playing cards from your deck. (Make sure it’s a deck you don’t plan to play with ever again.) I chose one face card one numeric card from the same suit for each napkin ring, but you can mix things up however you want to. Put a dot of hot glue on your bottom card and lay the other card on top of it at an angle. Make sure the bottom card is still visible peeking out behind the top card. Press down on the cards so the hot glue will hold and let it dry for a minute or so. Repeat until you have done this for each napkin ring.
Step 2 – Once the hot glue has dried, punch two holes in the middle of your overlapping cards about one inch apart. You can use a ruler to line the holes up, but I just eyeballed it.
Step 3 – String your ribbon through each hole. On the day of the party, slide it onto your silverware napkin and tie it in a bow.
Banner
Step 1 – Select about ten cards from your jumbo deck. I made sure to use the King, Queen, Jack, and Ace of hearts and some numeric hearts cards. But I also mixed in the other suits.
Step 2 – Measure with a ruler to find the center of each jumbo card. Mark it lightly with a pencil. Make another mark half an inch from each side of the center.
Step 3 – Punch two holes in the top of your cards where the two marks are. They should be one inch apart. Erase the mark you made in the center of each card.
Step 4 – String the cards onto a long ribbon, making sure they are in the order of your choice. I positioned the King and Queen of hearts in the middle of my banner so they could preside over the party together. Cut the ribbon to your desired length and tie it to hang it up.
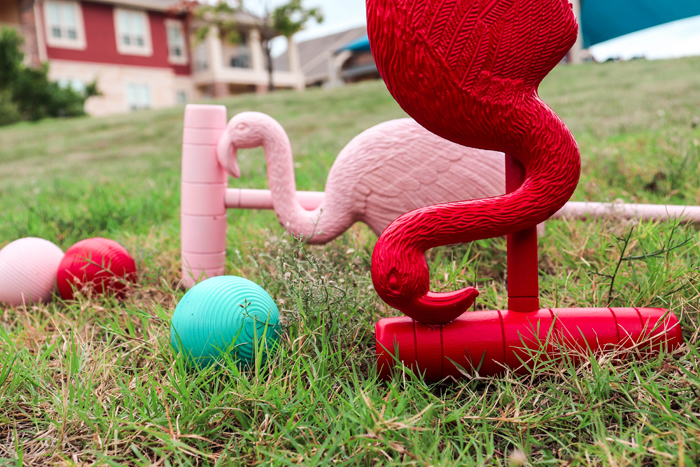
Flamingo Croquet Mallets
My favorite Alice in Wonderland party decorations also doubled as our entertainment. We made our very own flamingo croquet set! I must admit that this was one of the more expensive things I made for the party because I didn’t already own a croquet set, but it was totally worth it.
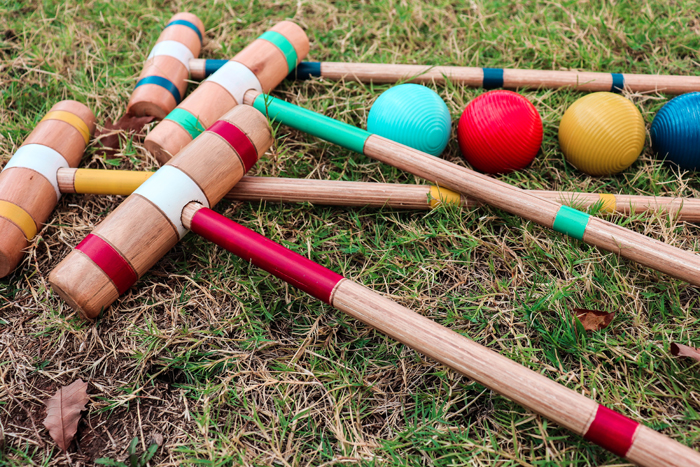
The least expensive croquet set I could find was on Walmart’s website for $30. It only came with four mallets, but that was perfect since we only had four people at our party! I had to buy four different colors of spray paint as well. But, I lucked out and found plastic lawn flamingos at Dollar Tree! Check your local dollar store during the summer and save them to use for your event. Our flamingos lived in my husband’s closet for a couple months before the party.
Making the flamingo croquet set was also definitely the most difficult craft I completed for the party. You can find the entire step-by-step guide in this blog post.
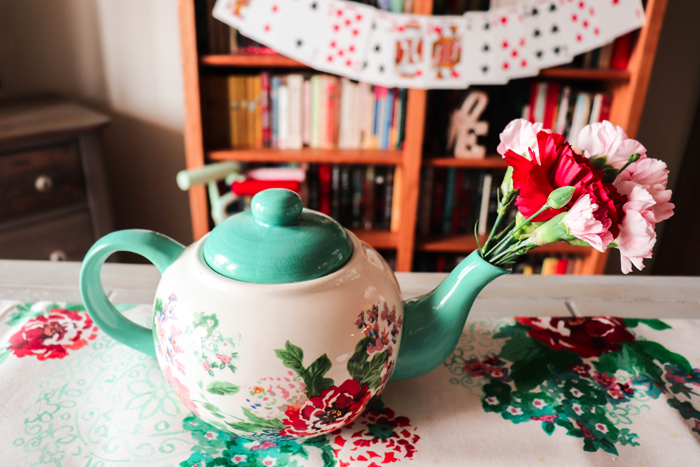
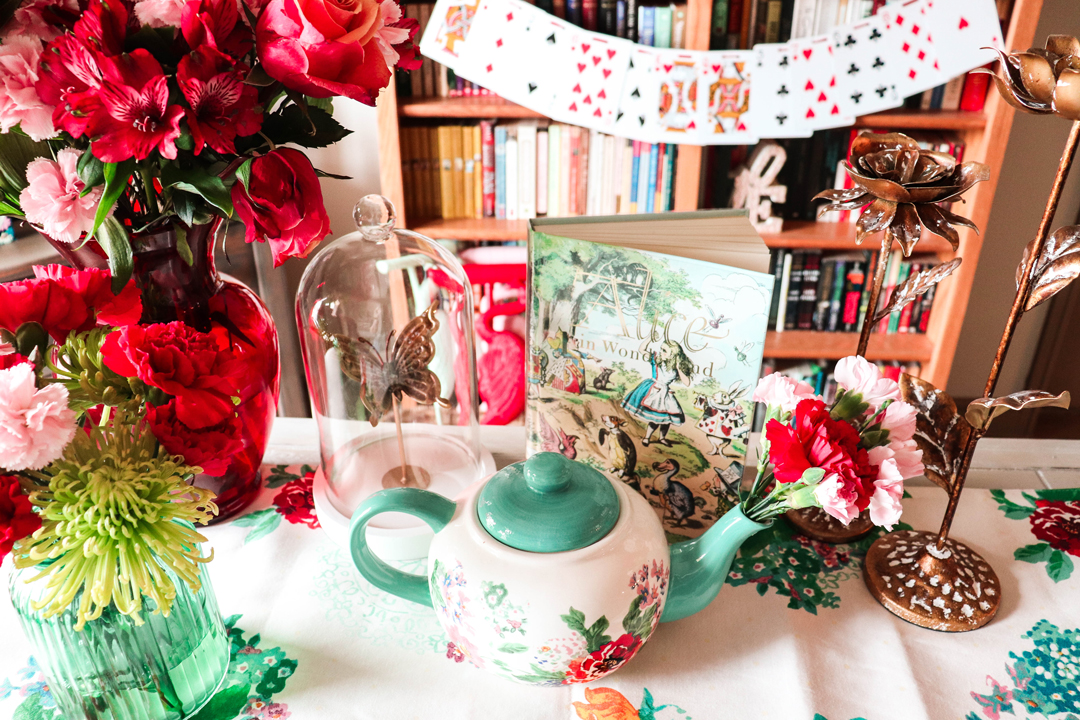
Teapot Flower Spout
Last but not least, I noticed the beautiful idea for a teapot flower spout on Pinterest and I had to replicate it for my table! It looks like flowers are actually cascading straight out of your teapot in an arc and I think it’s the prettiest party decoration I’ve ever seen. It was also super simple to put together.
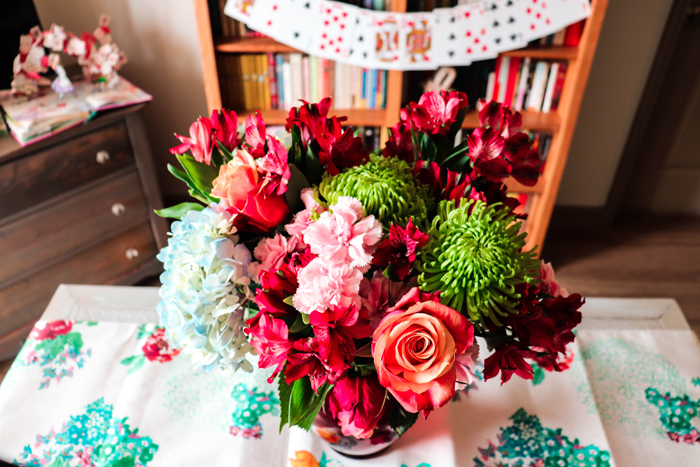
My materials included my favorite ceramic teapot and some fresh flowers from the grocery store. That’s it! I bought several different flower colors and shapes for the vases on my table and I just cut off a few extras to use in my teapot.
Step 1 – Choose your flowers wisely. Something with a vine or that spills downward like an orchid would look the best. My selection from the sale section of Tom Thumb was limited, so I just used some carnations. Really any flowers with thin stems will do the trick.
Step 2 – Cut your flowers according to the length of your teapot spout. They will look much, much shorter than the stems for a regular vase.
Step 3 – Slide the flower stems into the teapot spout. Make sure to use plenty of flowers so that the stems will be stuck tight in there. Display your elegant centerpiece with pride!
Make Your Own Alice in Wonderland Party Decorations
I’m a firm believer that DIY party decorations are the most charming! Creating all of these Alice in Wonderland party decorations myself allowed me to customize everything according to my color palette. Plus, it gave me something fun to fill up my time while I continue social distancing this year. For more tips on throwing your own Alice in Wonderland UnBirthday Party, check out this post.
FOLLOW ME