

When I started planning all of the special touches for my Alice in Wonderland UnBirthday Party, I knew playing a round of flamingo croquet just like Alice did would really be the cherry on top of the event. But creating this masterpiece definitely took some trial and error, so I want to share a few tips that helped it go smoothly. Here is a step by step tutorial so that you can make your own flamingo croquet set that doubles as decoration AND fun.
Gathering Supplies
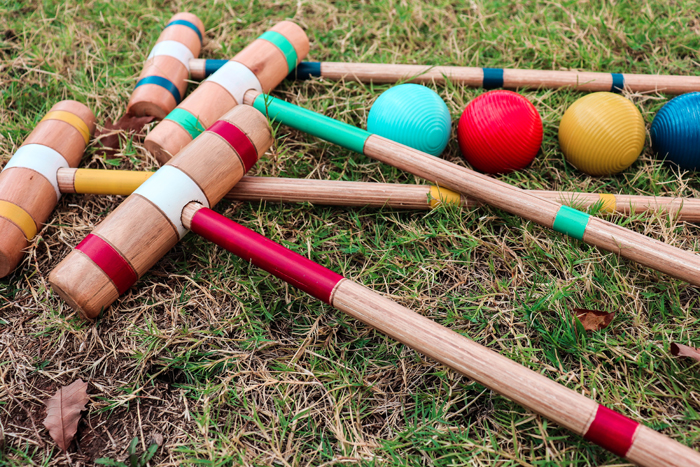
Obviously, the first thing you will need for this craft is a croquet set. I didn’t have one lying around, so I decided to find the most affordable option out there. The least expensive set I could find was this one from Walmart that comes with four mallets, four balls, six hoops, and some pegs to mark the start and finish of the course. It’s all continued inside a nifty travel bag. It was perfect for us since we only had four players at our party, but for a larger event you might want a set with 6 mallets.
Once I found the croquet set, I gathered up everything else I would need. Here is my full supply list with everything I used for this project:
- 1 Croquet Set
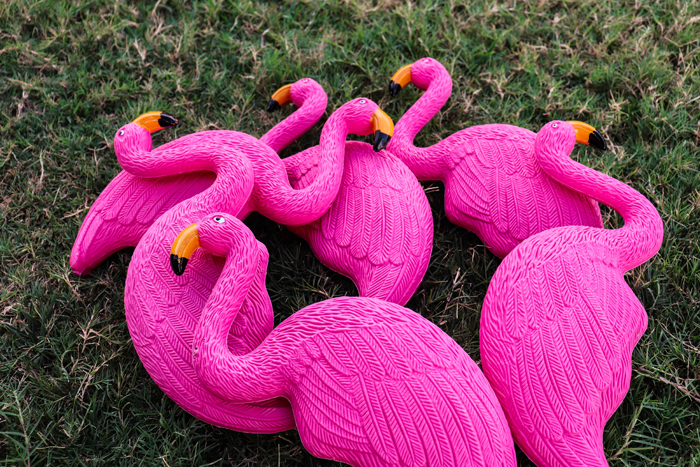
- 4 Plastic Lawn Flamingos
- 4 Cans of Spray Paint (Different Colors)
- Drop Cloth
- Rubber Gloves
- Hot Glue Gun
- Optional: Exacto Knife/Scissors
I found my lawn flamingos at Dollar Tree, so I bought two extra ones just in case I had some trouble with assembly. This turned out to be the right call, because the original tutorials I followed instructed me to drill a hole in each flamingo with a spade bit. This ripped up our tester flamingo, so we abandoned that idea and used hot glue instead!
Flamingo Croquet Set Assembly
Here are the steps I used to create my Alice in Wonderland Flamingo Croquet Set.
Step 1 – Spray paint everything in the croquet set on one side.
The first time I attempted to spray paint one of my mallets, I didn’t give it enough time to dry before flipping it over and painting the opposite side. It turned into a sticky nightmare mess! So, carefully lay your four mallets, balls, and flamingos on a drop cloth and spray paint just one side of them. Let it dry for a few hours.
Step 2 – Spray paint everything on the opposite side.
Once your mallets, balls, and flamingos are dry, you can safely turn them over to spray paint them on the other side. Leave them to dry for another few hours. Don’t bring them inside or let them touch anything else until they are no longer sticky.
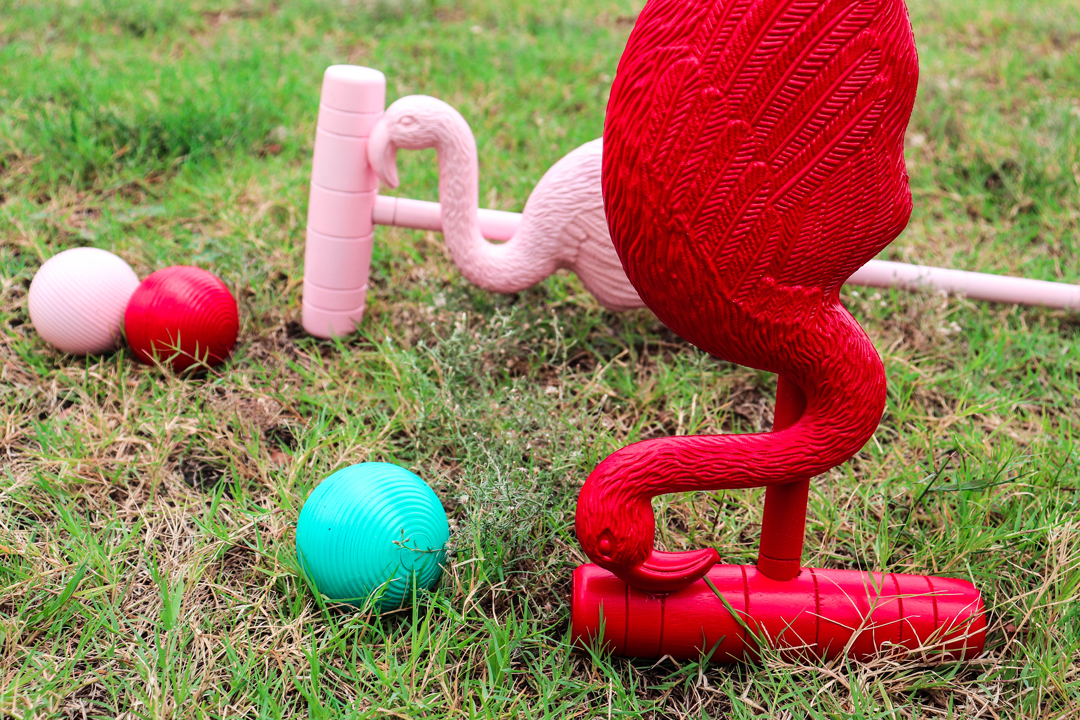
Step 3 – Hot glue your flamingos in place.
Position your flamingos so that their beaks are resting on the head of your mallet, and their necks and torsos are lined up against the stick of your mallet. This will give them several points of contact with the hot glue and make them less likely to fall off! Be gentle with them even after the hot glue has dried.
Here’s where the Exacto knife option comes in: if you are planning a party for kids and you’re worried hot glue won’t be strong enough to keep your flamingos secure, cut two small incisions at the top and bottom of each flamingo’s torso. Use scissors to widen them until the mallet stick can slide in through both openings. Slide your flamingo all the way up to the head of the mallet and hot glue it into place. This will make it extra secure.
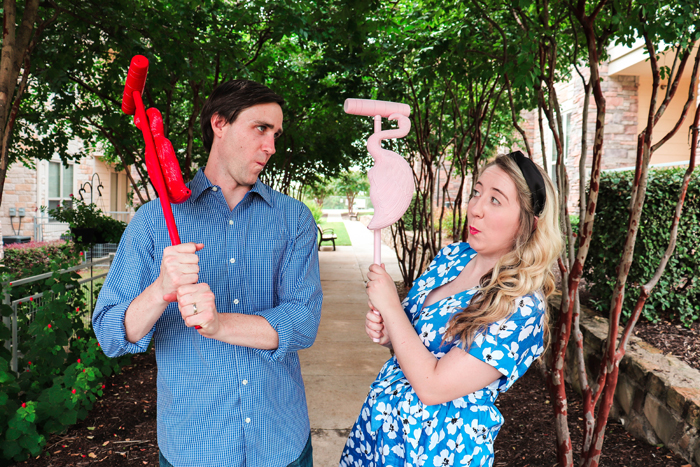
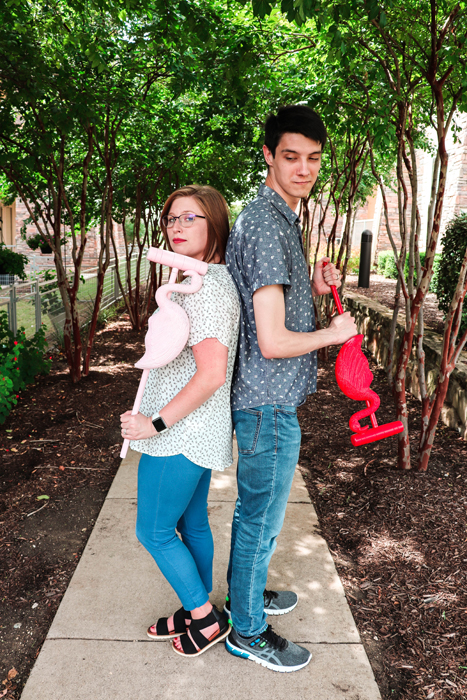
Create Your Own Flamingo Croquet Set
Whether you want to use it as an elegant party decoration or a game to keep young kids entertained, flamingo croquet is the perfect addition to any Alice in Wonderland Party. If you have any questions about the assembly process, don’t be shy! DM me on Instgram at @livelovelocalblog.
For more decoration tutorials to use at your next Alice in Wonderland Party, check out this blog.
FOLLOW ME