
Out of all the decorations I created for our Harry Potter Halloween party, my favorites were definitely the bottles and brews for the Potions Classroom.
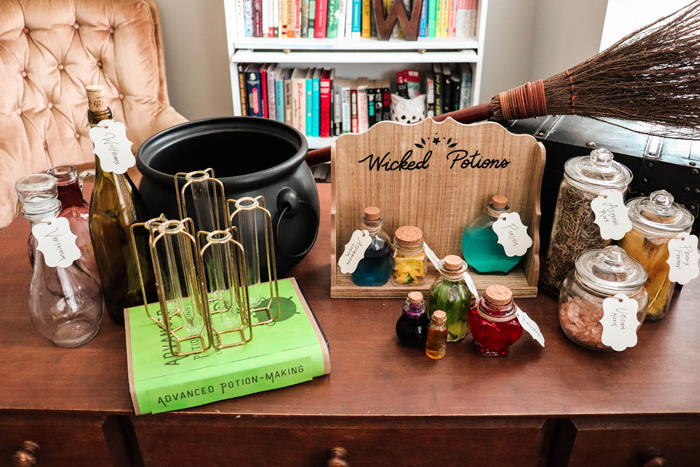
My Polyjuice Potion was served out of a cauldron to our guests as a cocktail punch, but the rest of the spooky draughts were created with craft supplies. I found ingredients at the dollar store and spent the weeks leading up to our party carefully putting the finishing touches on each spooky detail. Here is my step-by-step guide for making your own DIY Harry Potter potion bottles.
How to Make Harry Potter Potion Bottles
1. Gather up supplies.
Like I mentioned in my Harry Potter party decorations guide, I sourced most of my materials from Dollar Tree! I found glass bottles and jars for 50% off at Hobby Lobby and saved them up in my kitchen cabinets. Then a few weeks before the party, I bought clear glue, colorful glitter glue, loose craft glitter, fake flowers and plants, crushed glass, feathers, moss, and anything else that seemed like it would look cool floating inside a potion bottle. I also grabbed food coloring in each of the primary colors to mix and match inside the glue. You can find the set I used at Target here.
2. Plan your potions.
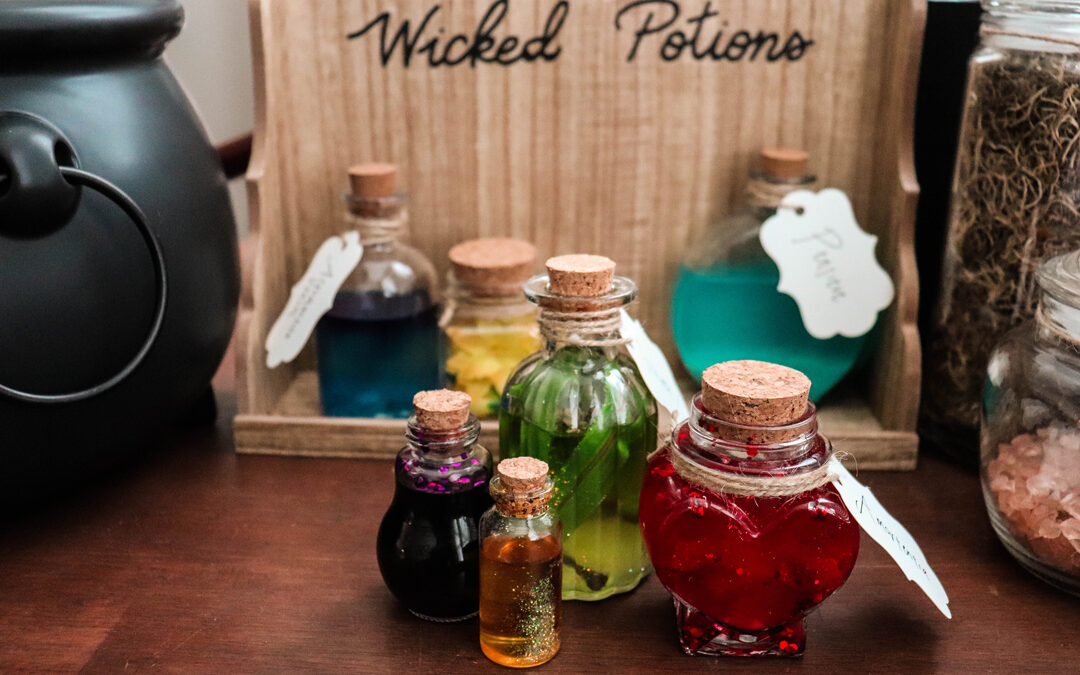
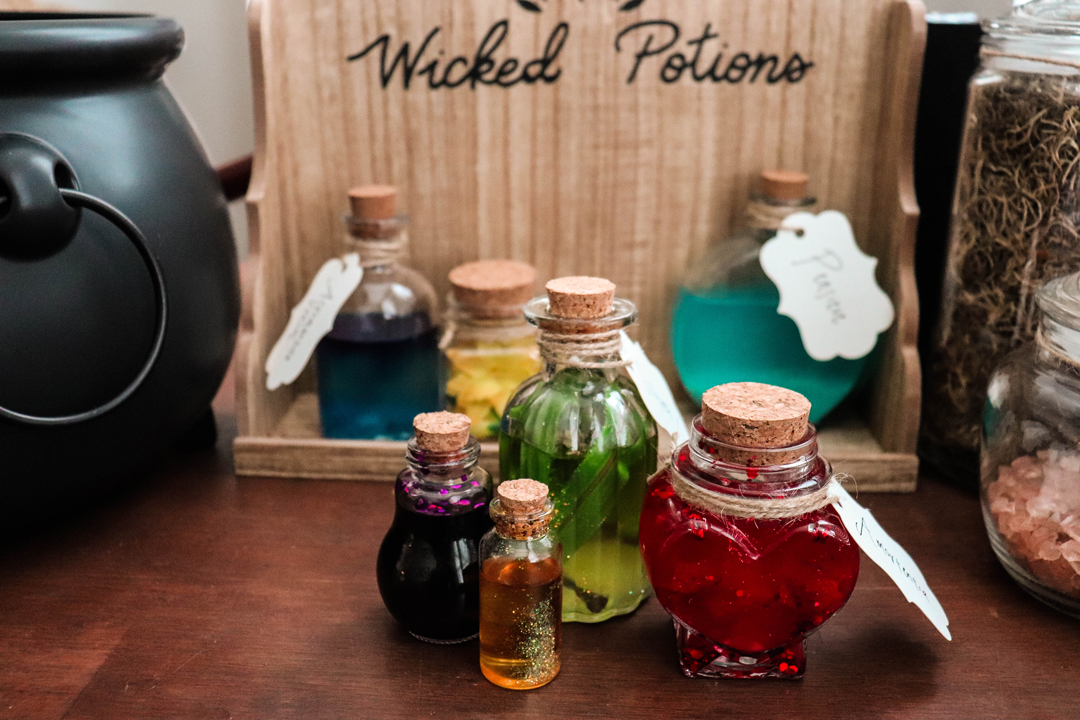
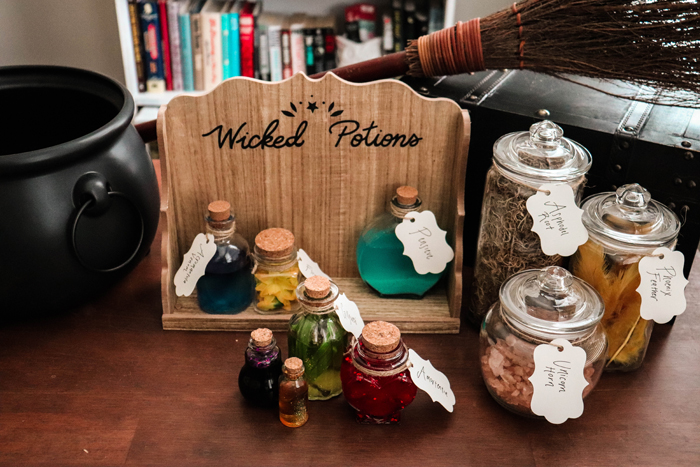
It can be helpful to know which potions you want to make before you start pouring food coloring into things. My list included green Gillyweed, red Amortentia, gold Felix Felicis, blue Pensieve, and purple Acromantula Venom. I thought about which bottles to use for which potions and ingredients beforehand as well. For example, I used the tiniest container for Felix Felicis, and a heart-shaped bottle for the love potion Amortentia.
3. Add your “ingredients.”
Once you know which colors you want to use in which bottles, you can start crafting! Begin by placing your fake flowers, crushed glass, loose glitter, or any other potion “ingredients” inside the bottle at the bottom. Make sure they are visible and positioned the way you want since you will be pouring the liquid glue on top of them.
4. Pour in glue.
Pour some clear craft glue into one of your bottles. I would start by filling the bottle about ⅓ to ½ way up to the top.
5. Add food coloring.
Use a drop or two of food coloring in the color of your choice and tilt the bottle around so it will disperse within the glue.
6. Top off and seal with a cork.
Pour in the rest of the craft glue you need to fill up your potion bottle to its desired amount. Pop the cork in and keep it fresh!
7. Optionally, add a label.
Once your potions are complete, you may want to label them so that guests can identify the names of potions and ingredients they remember from the books and movies. Label stickers will easily adhere to the glass bottles. For my own labels, I tied a bit of twine around the neck of each potion bottle and added a gift tag with the name of the potion. I thought they looked more whimsical and mysterious that way! Plus, I had lots of extra plain white gift tags on hand leftover from my Alice in Wonderland UnBirthday Party. It’s always a win to repurpose supplies you already have!
DIY Harry Potter Party Decorations
I hope this tutorial helps you create beautiful decorations for your home, and have fun while you’re at it! I meticulously planned out the potions I wanted to create and spent a whole day crafting them myself. But if you’re planning a party for kids, you could also let them create their own potion bottles to take home as a party favor! The possibilities are endless.
Harry Potter Party Decorations
How to Make Hogwarts Textbooks
How to Make Hogwarts Letter Party Invitations
FOLLOW ME